For troubleshooting, see the end of this section.

PRESET
This section helps you preview, apply and save presets.
DROP-DOWN MENU : Browse among the saved Presets.
< > ARROWS : Quickly apply the previous or next presets.
GALLERY : Opens a web page with previews for each in-built presets.
SAVE : Save your own presets. Their path is :
Windows : My Documents\The Waenderer\Bokeh Sensei
Mac : …\Documents\The Waenderer\Bokeh Sensei
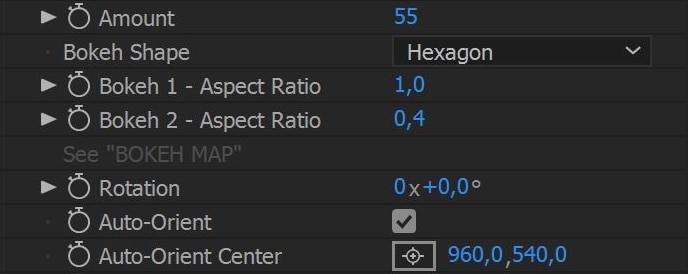
MAIN SETTINGS
These settings control the amount of Blur and the Bokeh appearance.
AMOUNT : Amount of blur.
BOKEH SHAPE : You can choose between different bokeh shapes : Hexagon, Octagon, Circle, Heart, Blade and Blob.
BOKEH 1 – Aspect Ratio : The Aspect Ratio controls the horizontal scale of bokeh. With Bokeh Sensei, it is possible to have 2 different Aspect Ratios set by this property and the next below. The way Aspect Ratio 1 and 2 are used depends on the “BOKEH MAP” (see “BOKEH MAP” section).
BOKEH 2 – Aspect Ratio : Second property for the Aspect Ratio of the Bokeh.
ROTATION : Rotates the Bokeh.
AUTO-ORIENT : If checked, the Bokeh will be oriented toward the Auto-Orient Center (see below).
AUTO-ORIENT CENTER : 2D Position of the Auto-Orient feature

These settings control the Bokeh appearance.
GAMMA : Changes the Gamma of the Bokeh, make the Bokeh pop out.
DIFFRACTION FRINGE : Adds a thin outline to the Bokeh.
EDGE ABBERATIONS : Adds chromatic abberations to the edge of the Bokeh.
TEXTURE : Adds a texture to the Bokeh.
TEXTURE Scale : Change the scale of the texture.
TEXTURE Opacity :Change the opacity of the texture.
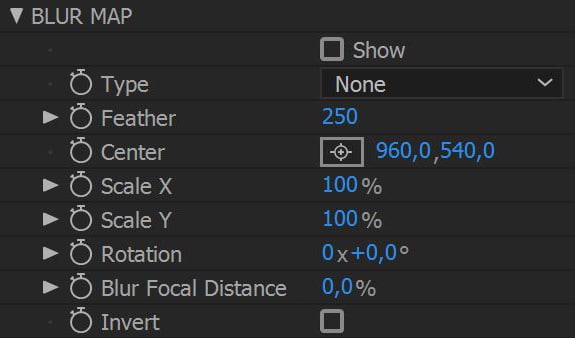
BLUR MAP
A “Blur Map” is a Black & White picture where white values means 100% blurriness and black values 0% blurriness. It is often use with “Depth Map” exported from 3D software.
SHOW : Shows the Blur Map to help you get the right look.
TYPE : Choose between different types of Blur Map. You can choose a custom layer. This layer must be in Black & White and the same size of the layer with Bokeh Sensei.
FEATHER : Adds a feathering effect.
CENTER : 2D Position of the center of the Blur Map.
SCALE X, Y : Changes the X and Y scale of the Blur Map.
ROTATION : Rotates the Blur Map.
BLUR FOCAL DISTANCE : Defines which color value in the Blur Map is not blurry at all. By default it is set to black. At 50%, the color value will be a 50% grey. At 100%, it will be the white values. Often used to change the focus.
INVERT : Invert the luminance of the Blur Map.
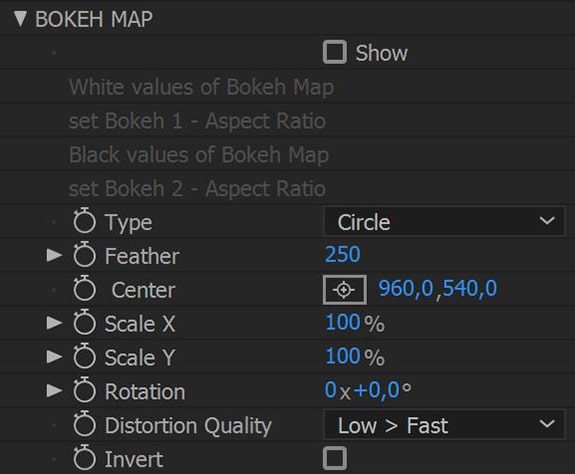
BOKEH MAP
A “Bokeh Map” is a Black & White picture where white values sets where the Bokeh with Aspect Ratio 1 are and black values where the bokeh with Aspect Ratio 2 are.
SHOW : Shows the Bokeh Map to help you get the right look.
TYPE : Choose between different types of Bokeh Map. You can choose a custom layer. This layer must be in Black & White and the same size of the layer with Bokeh Sensei.
FEATHER : Adds a feathering effect.
CENTER : 2D Position of the center of the Bokeh Map.
SCALE X, Y : Changes the X and Y scale of the Bokeh Map.
ROTATION : Rotates the Bokeh Map.
DISTORTION QUALITY : Lowering the Distortion Quality will make your render faster but less accurate. Increasing the Distortion Quality will make you render more accurate but slower too.
INVERT : Invert the luminance of the Bokeh Map.
TROUBLESHOOTING
The plugin doesn’t work as it should
There are several ways to fix this :
– Purge your memory : Edit / Purge / All memory or Image cache memory
– Empty the disk cache: Preference / Media & Disk Cache / Empty Disk Cache
– Restart AE.
– Restart your computer.
– Wake up from this nightmare.
Still having trouble?
Don’t forget to precise you AE version and your computer specs.
TUTORIALS
PRESET GALLERY
IN FOCUS
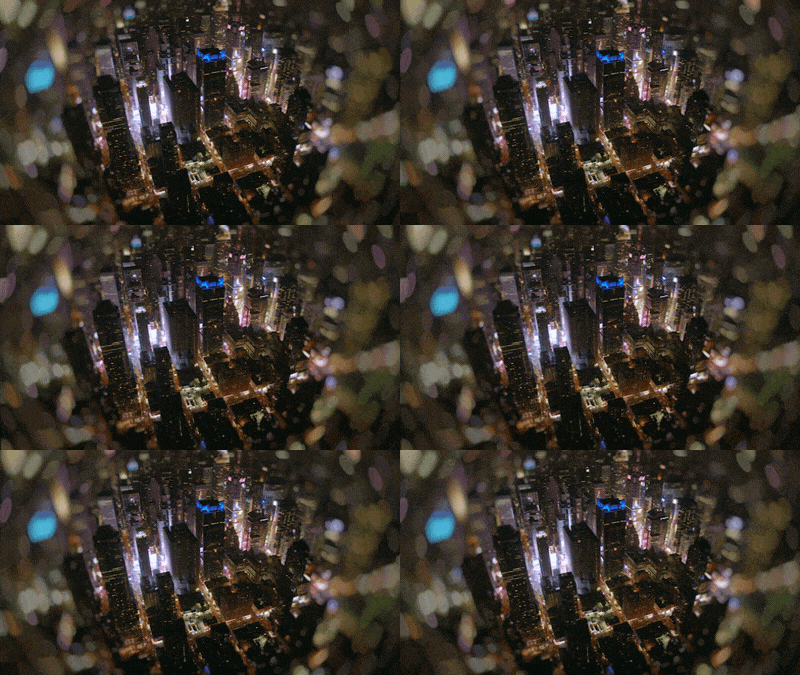
Basic
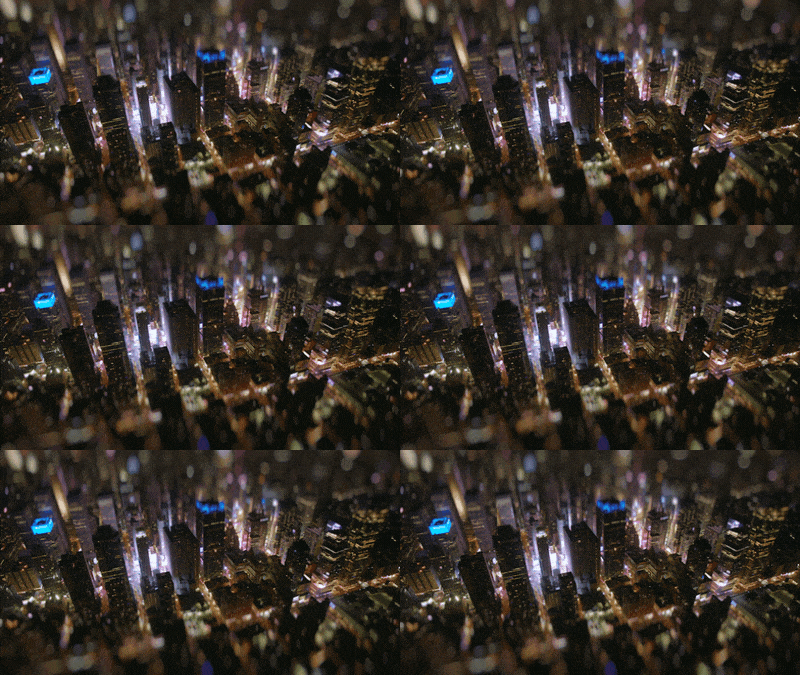
Cinematic
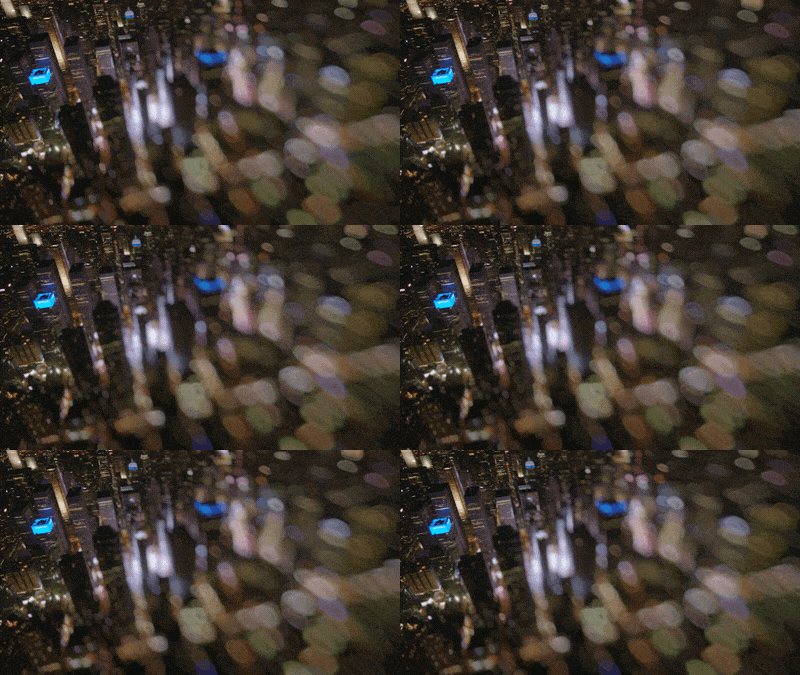
Corner
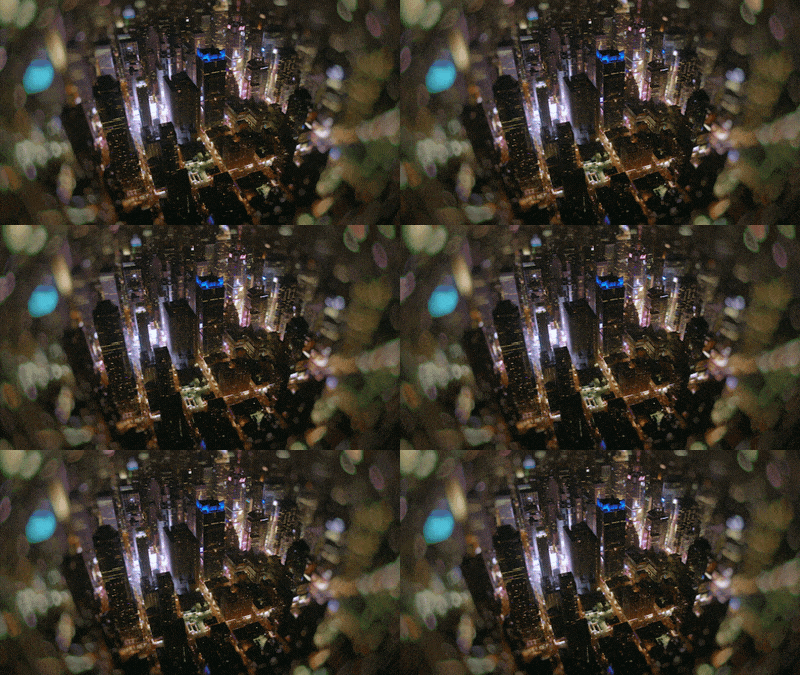
Dirty
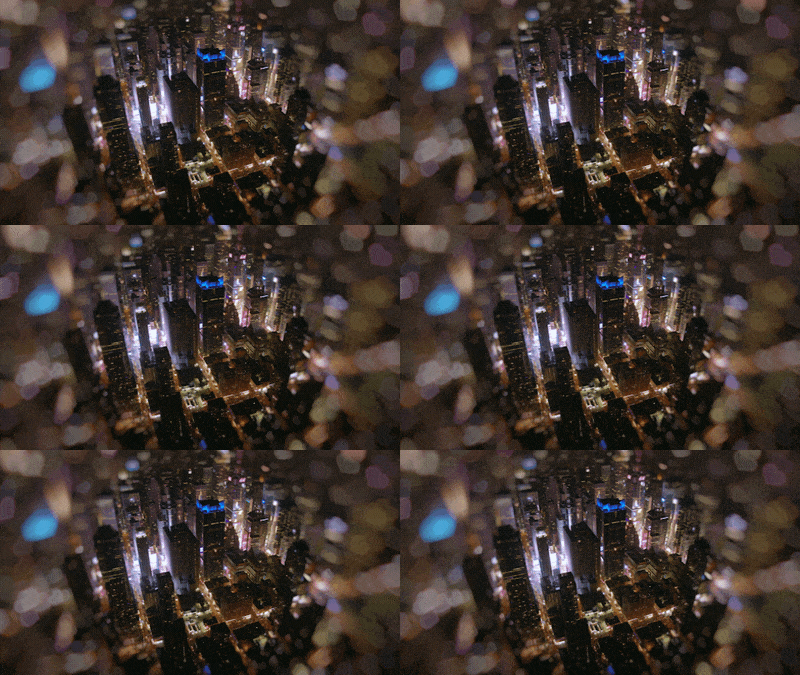
Love
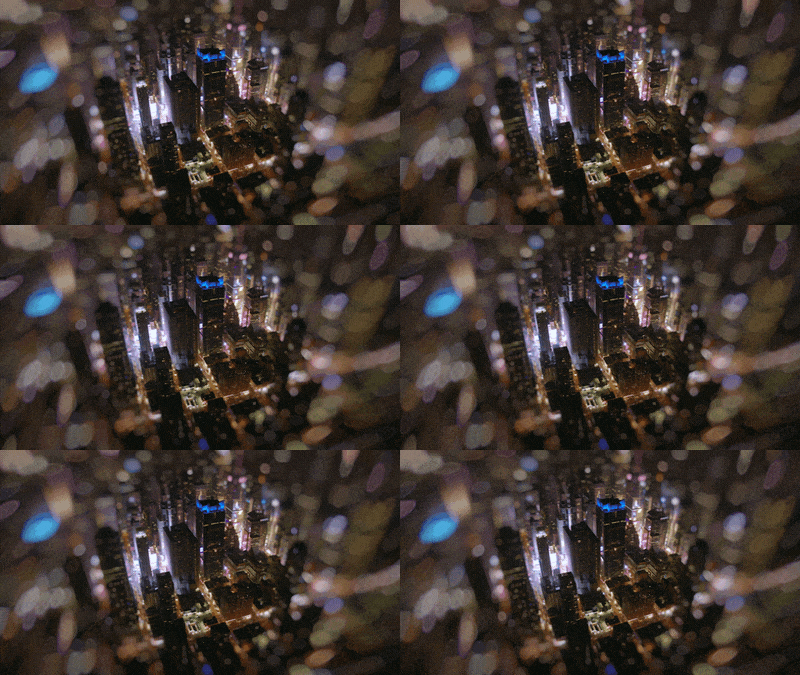
Swirly
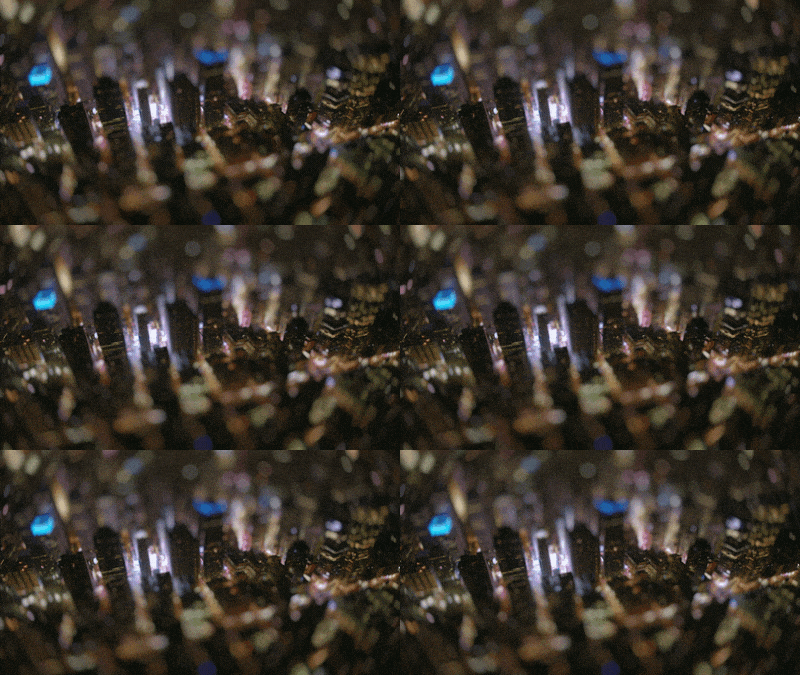
Tilt-shift
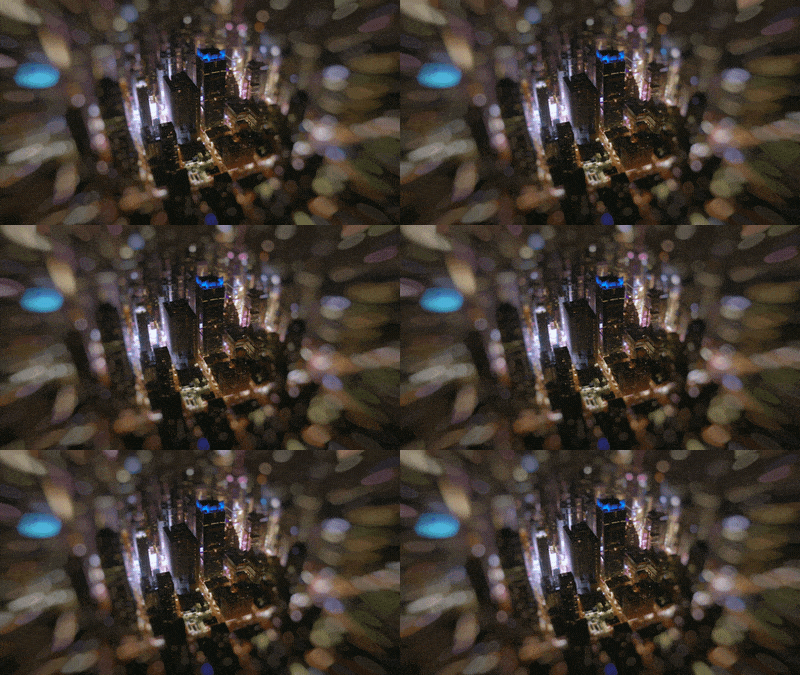
Zoom
OUT OF FOCUS
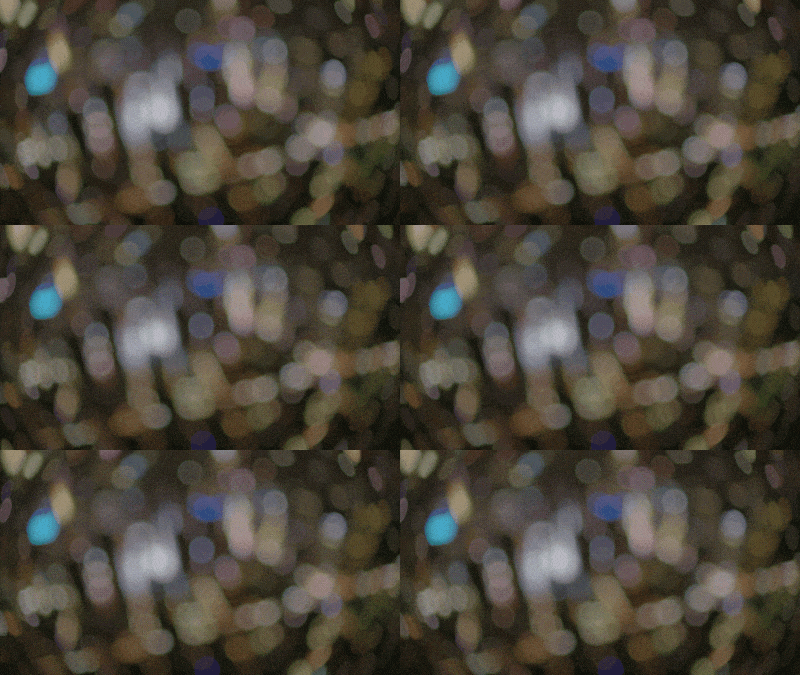
Basic

Cinematic
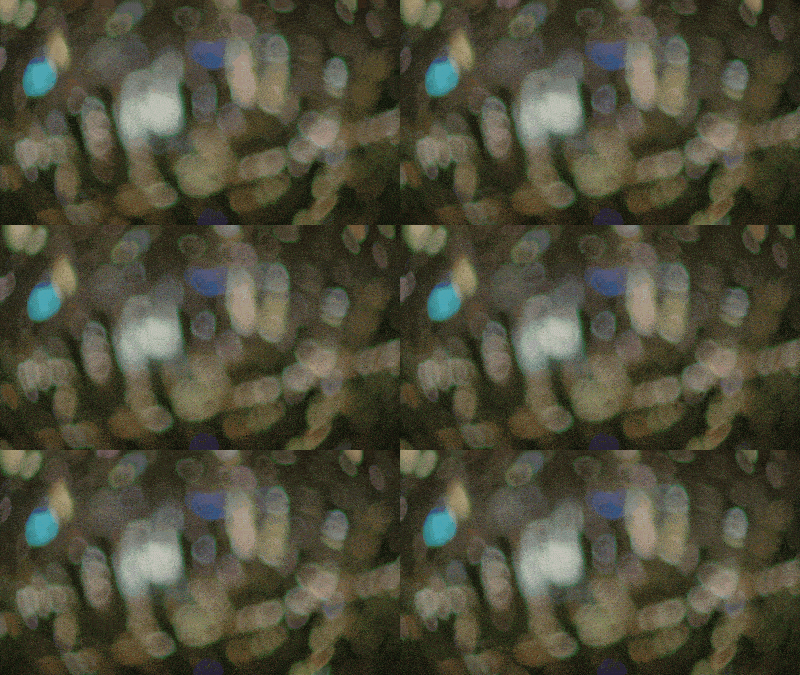
Dirty

Love
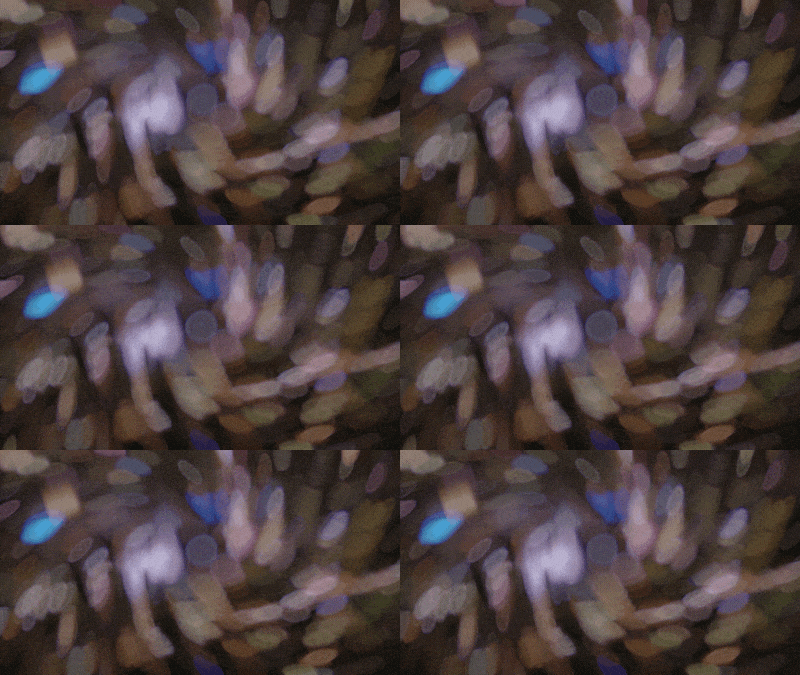
Swirly
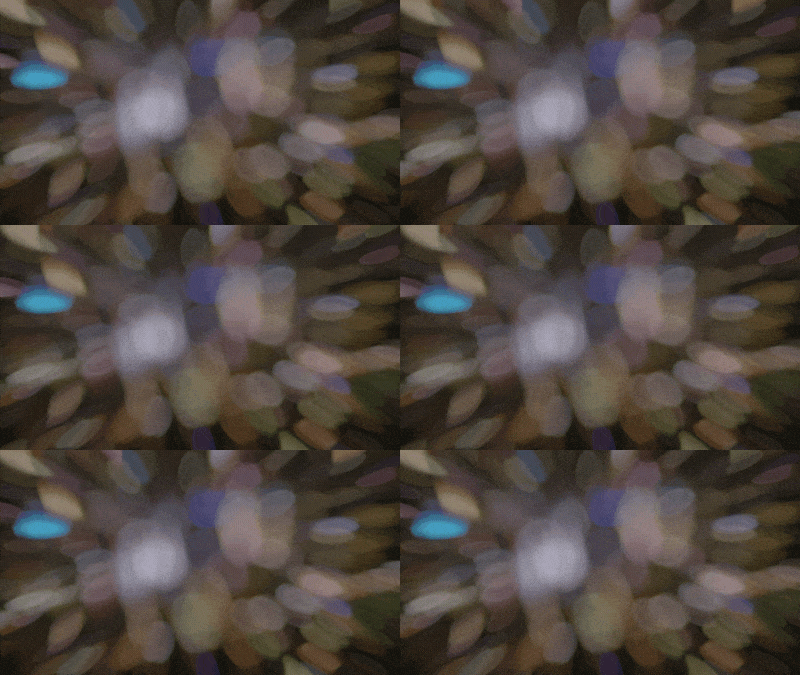
Zoom
